

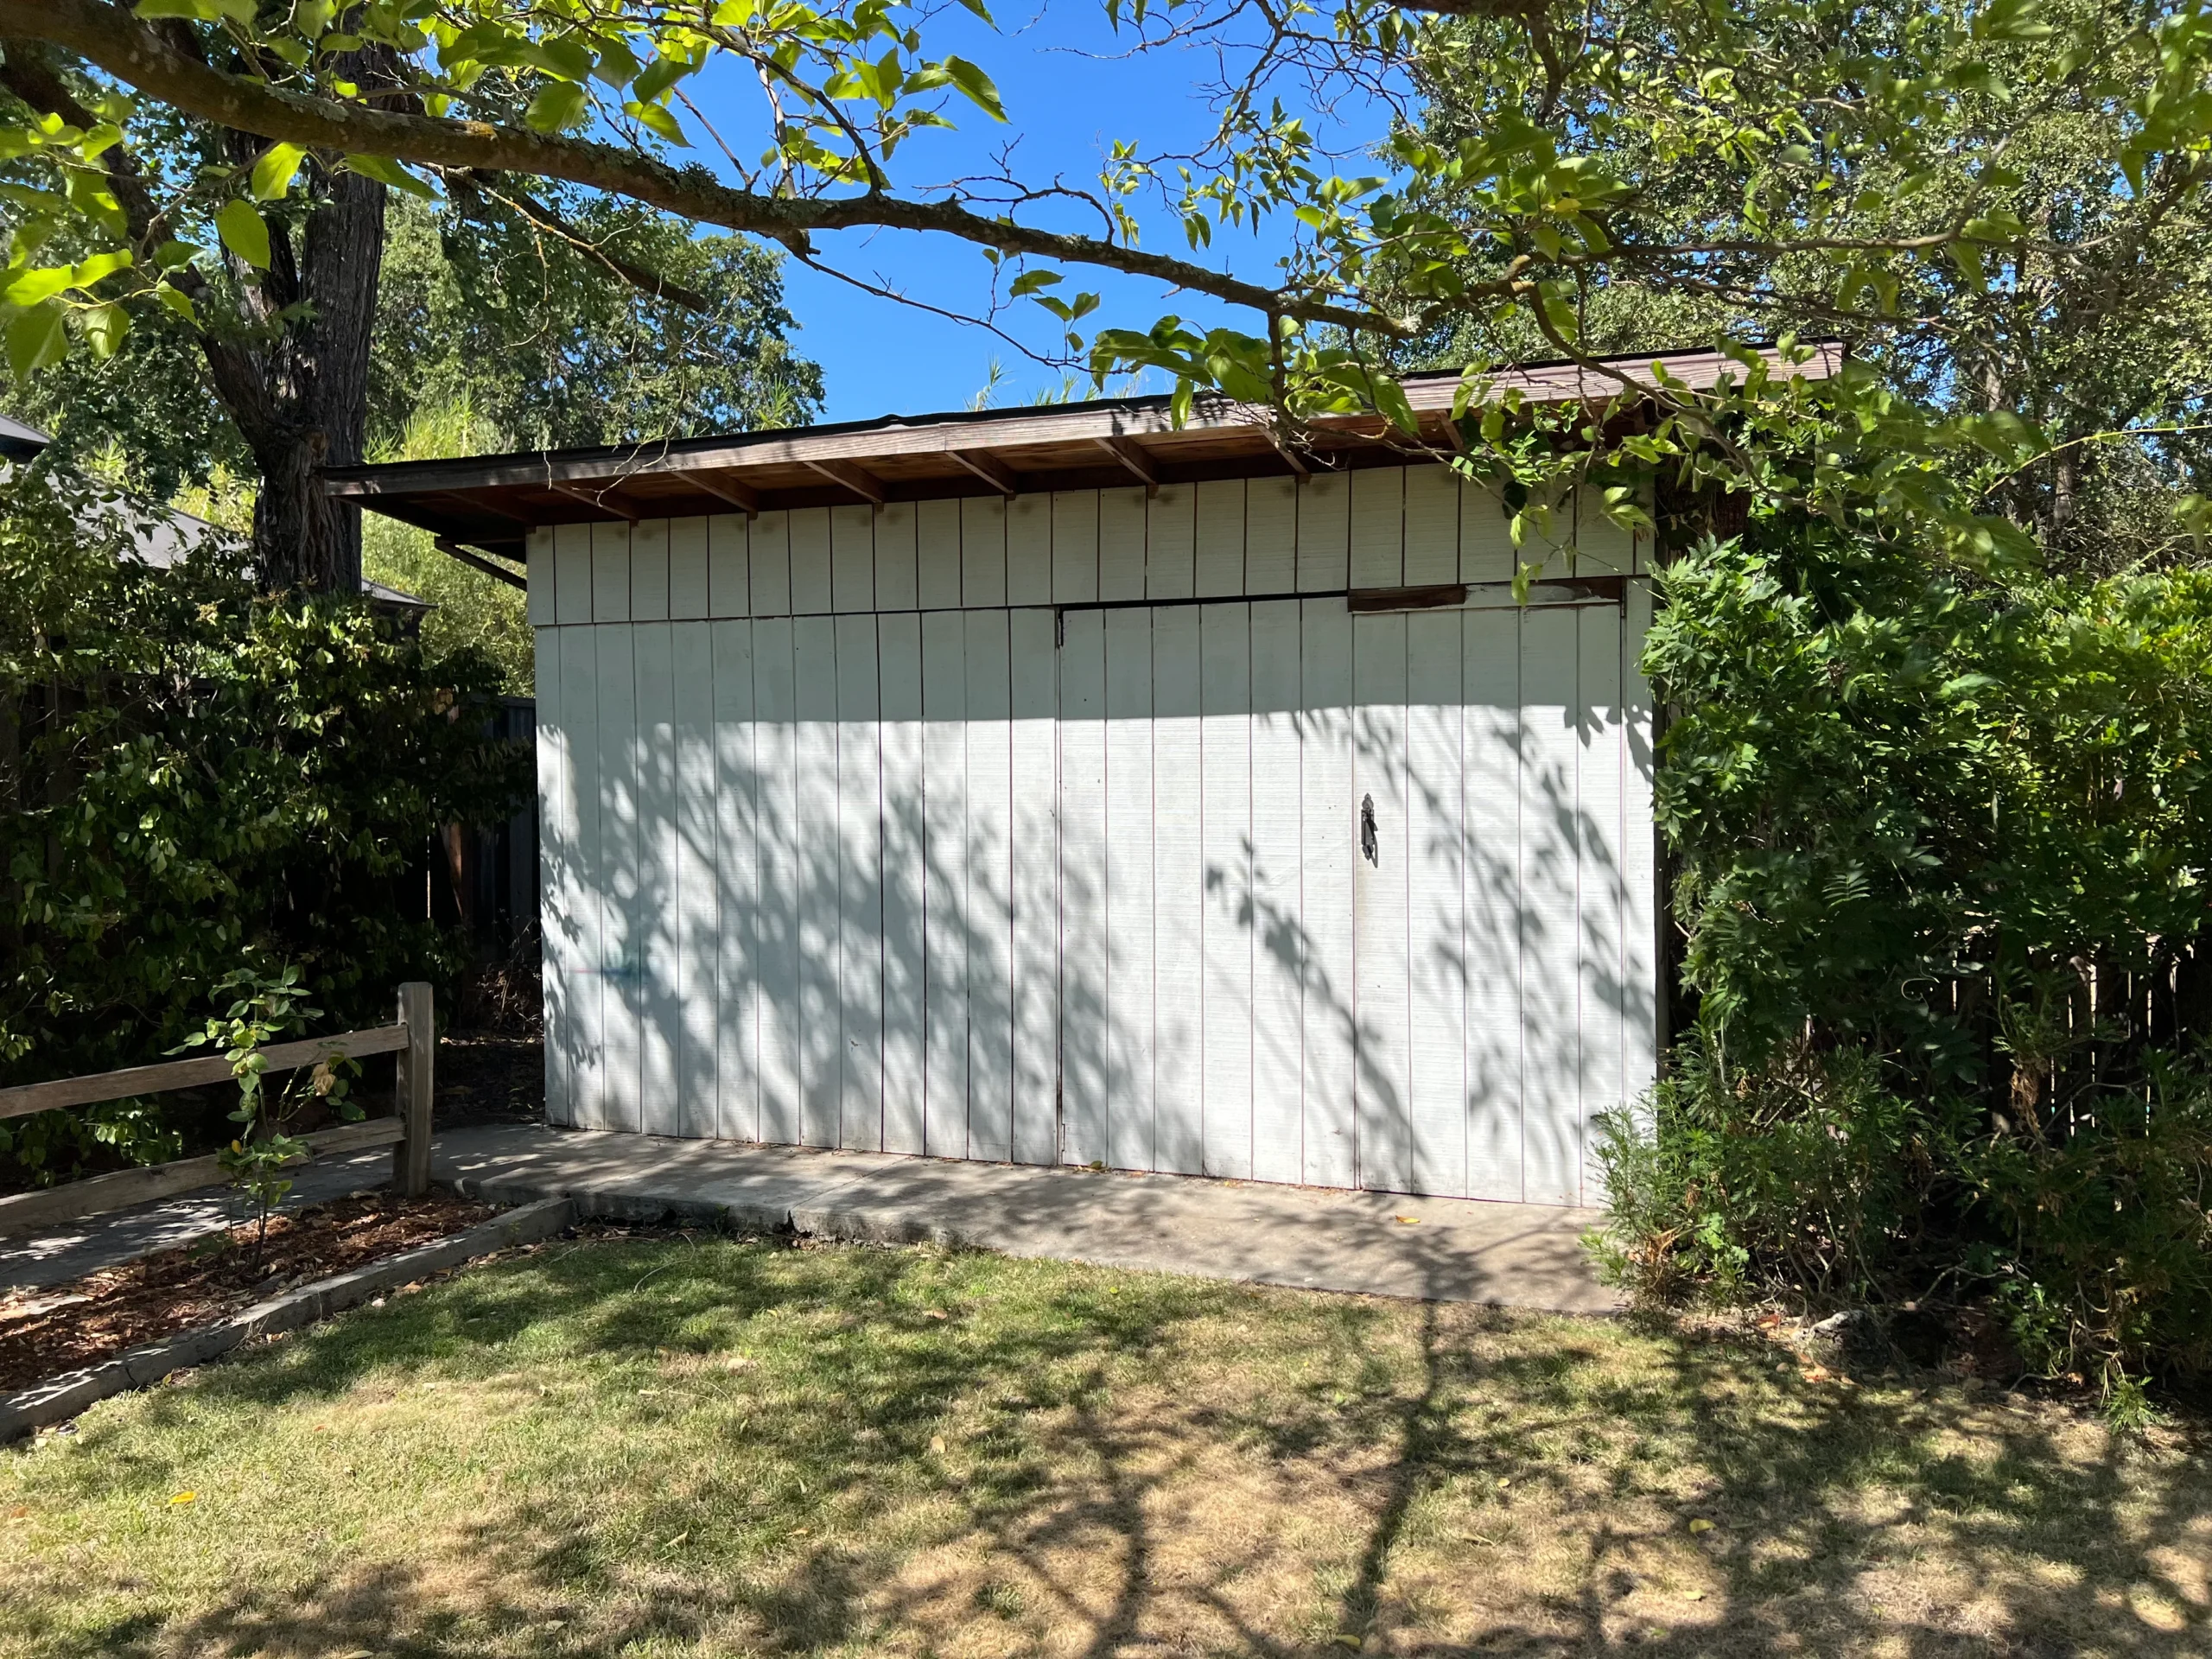
Renting a storage unit often starts as a temporary solution. You might be between homes, downsizing, or dealing with a major life event. You pack up your boxes, load the furniture, lock the roll-up door, and tell yourself you will sort it out next month.
Fast forward a year—or a decade—and that unit is still full. The monthly rental fees continue to drain your bank account, and the mere thought of opening that door fills you with anxiety. You are not alone. Millions of people struggle with long-term storage unit fatigue, paying thousands of dollars to house items they rarely use or completely forgot they owned.
Clearing out a storage unit is a daunting task, but it is entirely achievable with the right strategy. You need a systematic approach to conquer the clutter, make decisive choices, and safely remove the items.
This comprehensive guide will walk you through everything you need to know. We will cover how to assess your inventory, navigate the emotional hurdles of letting go, and execute a step-by-step sorting strategy. We will also dive into the heavy lifting and explain how professional help from Take Care Junk can save you time, money, and backache.
The Hidden Costs of Long-Term Storage
Before diving into the physical work, it helps to understand why you need to clear out this space. Recognizing the true cost of your storage unit provides the motivation required to finally tackle the project.
The Financial Drain
Calculate exactly how much you spend on your storage unit every year. A unit that costs $150 a month equals $1,800 annually. Over five years, that is $9,000 spent just to keep items sitting in the dark.
In many cases, the cost to store the items far exceeds the actual replacement value of the goods inside. If you are storing old, heavy furniture or outdated electronics, you are likely losing money every single month. By clearing the unit, you instantly give yourself a monthly raise.
The Mental Clutter
Physical clutter takes a massive toll on your mental well-being. Knowing that you have a unit packed with unresolved decisions creates an underlying current of stress. Every time the monthly autopay hits your bank account, you experience a pang of guilt.
Emptying the unit frees up your financial resources and your mental bandwidth. It allows you to close an open chapter and move forward without the physical weight of forgotten belongings holding you back.
Overcoming the Emotional Hurdles of Letting Go
The biggest obstacle to clearing out a storage unit is rarely the physical labor. The true challenge lies in the emotional attachment we form with our belongings. To succeed, you must mentally prepare yourself to let things go.
Managing Sentimental Attachment
Storage units often become a holding zone for inherited items or childhood memorabilia. We keep these items because throwing them away feels like discarding a memory.
You must separate the memory from the object. A box of old college textbooks does not contain your education; it just contains paper. An ugly armchair you inherited from an aunt does not represent your love for her. Choose a few meaningful, small items to keep as mementos. Take photographs of larger sentimental items before you let them go. The photo preserves the memory without taking up physical space.
The “I Might Need It Someday” Trap
This is the most common excuse for keeping useless items. You hold onto a broken lawnmower, a box of spare cables, or clothes that no longer fit because you fear you might need them in the future.
Adopt a practical rule for these “just in case” items. If you have not used the item in the past year, and it would cost less than $20 and take less than 20 minutes to replace, let it go. Your storage unit should not function as a pricey insurance policy against minor future inconveniences.
Step One: Assessing the Contents and Inventorying
Do not show up at your storage unit with a rented truck on day one. You need to know exactly what you are dealing with before you start hauling items away. Your first trip to the facility should be strictly for reconnaissance.
Do a Walk-Through First
Open the door and take a deep breath. Do not start pulling boxes out randomly. Instead, grab a flashlight and carefully walk through the space if you can.
Take photos of the unit from multiple angles. Open a few boxes to remind yourself what categories of items are packed away. Make note of any exceptionally large or heavy items, like solid wood dressers, pianos, or oversized sectionals. Assess the condition of the items. Have mice gotten into the boxes? Is there water damage or mold? Knowing the condition helps you decide whether items are fit for donation or destined for the dump.
Create a Detailed Inventory List
Bring a notebook or use a digital app to create a rough inventory list. You do not need to list every single spoon or book, but you should categorize the major components.
Write down the large furniture pieces, appliances, and the approximate number of boxes. Group the boxes by category if they are labeled (e.g., 10 boxes of holiday decor, 5 boxes of kitchenware, 15 boxes of clothing). This inventory list becomes your master battle plan. It allows you to schedule enough time for the clean-out and determine if you need to hire help for the heavy lifting.
Step Two: The Step-by-Step Sorting Strategy
With your inventory complete, you can begin the actual physical sorting. Dedicate a full weekend to this process, and bring a friend or family member to help keep you accountable and on track.
Set Up Your Sorting Zones
Create four distinct staging areas just outside your storage unit. Make sure you do not block the driveways for other tenants. Bring large, heavy-duty trash bags, sturdy boxes, and permanent markers.
You will use the four-category system: Keep, Sell, Donate, and Trash. Handle every item only once. Pick it up, make a firm decision, and place it in the corresponding zone.
The “Keep” Pile
These are the items you actively want, need, and have space for in your current home. Be ruthless here. If you are moving items from the storage unit straight to your garage to sit in a different dark corner, you have not solved the problem.
Only keep items that serve a distinct, immediate purpose. Pack these items securely and load them into your personal vehicle immediately to get them out of the way.
The “Sell” Pile
Selling items can help recoup some of the money you spent on storage fees. However, selling takes significant time and effort. Place items here that have legitimate, proven resale value, such as high-end electronics, designer clothing, or valuable antiques.
Do not try to sell everyday junk. Your time is valuable. If an item will only fetch five dollars on an online marketplace, it belongs in the donate pile. Take clear photos of the items you wish to sell while you are still at the unit, so you can create the online listings as soon as you get home.
The “Donate” Pile
Donating is the best way to clear out usable items quickly while keeping them out of the landfill. This pile is for clothing in good condition, basic kitchenware, books, and functional furniture.
Research local charities, thrift stores, and community centers beforehand. Ensure you know their drop-off hours and what items they refuse to accept. Box these items up neatly. Many organizations offer free pickup for large furniture, which can drastically simplify your logistics.
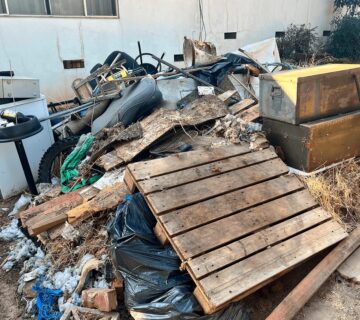
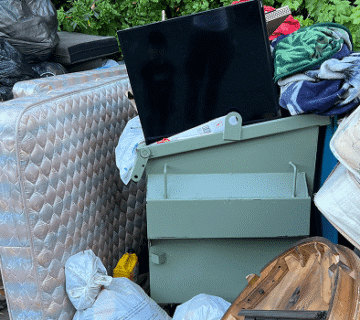
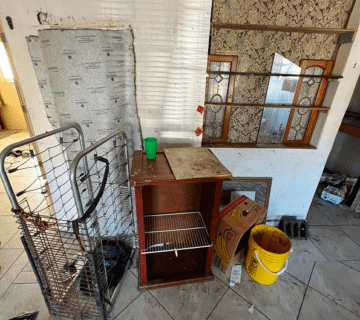
The “Trash” Pile
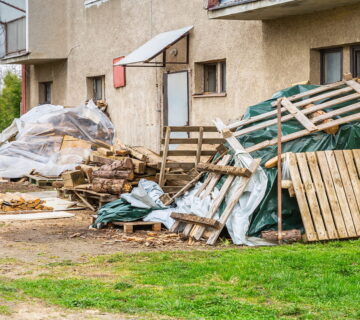
This pile will likely be larger than you anticipate. Broken furniture, obsolete electronics, stained clothing, and cheap plastics belong here.
Do not use the storage facility’s dumpsters for this pile. Most facilities have strict rules against dumping personal property in their bins, and they will fine you heavily if you are caught. You will need a distinct plan to remove this trash from the property yourself.
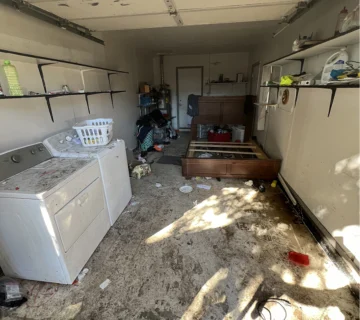
Step Three: The Logistics of Moving Heavy Items
Storage units are notorious for harboring incredibly heavy, bulky items. Navigating a heavy sleeper sofa down a narrow storage facility hallway requires more than just brute strength; it requires proper technique and equipment.
Use the Right Equipment
Never attempt to carry heavy appliances or solid wood furniture by hand. You risk severe back injuries and damage to the facility’s walls.
Rent or borrow a heavy-duty appliance dolly and a four-wheel furniture dolly. Bring moving blankets to slide heavy items across the floor without scratching it. Use forearm lifting straps if you are working with a partner. These straps distribute the weight evenly and take the strain off your lower back.
Protect Your Body and Belongings
Dress appropriately for the job. Wear closed-toe work boots, thick gloves to prevent splinters and cuts, and comfortable clothing that allows you to move freely.
Always lift with your legs, keeping your back straight. If an item is too heavy, do not force it. It is much cheaper to hire professional help than to pay for physical therapy after a severe back injury.
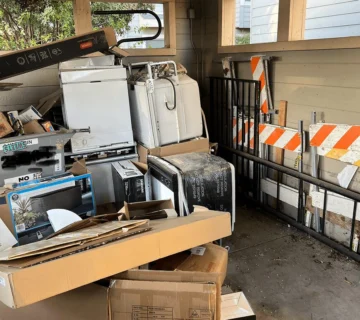
Step Four: Disposing of the Unwanted Items
Once the “Keep,” “Sell,” and “Donate” piles are processed, you are left with the “Trash” pile. This final hurdle is often the most exhausting part of the entire project.
The Hassle of the Local Dump
Disposing of large volumes of trash yourself is a logistical nightmare. You have to rent a truck or trailer, load the heavy, dirty items, and drive to the local landfill.
Once there, you must pay dump fees, wait in long lines, and physically unload all the trash you just packed. Furthermore, local landfills have strict regulations. You cannot throw away electronics, paint, chemicals, or appliances containing freon in a standard dump. You have to sort these items and drive them to specialized recycling centers across the county.
City dump trips work for small loads, but storage unit cleanouts usually involve heavy furniture, broken appliances, and multiple trips that quickly turn into an exhausting weekend project. Full-service junk removal saves time, labor, and disposal headaches.
The Benefits of Professional Junk Removal
Hiring a professional junk hauling service is the ultimate hack for clearing out a storage unit. It completely eliminates the exhausting final step of the process.
When you hire professionals, you do not have to rent a truck, navigate landfill regulations, or risk injury. The team arrives at your storage unit, and you simply point to the items you want gone. They handle all the heavy lifting, loading, and responsible disposal. This allows you to hand the keys back to the facility manager and stop your monthly payments immediately.
Local Help for Storage Unit Cleanouts
If clearing out your storage unit has turned into a bigger project than expected, professional junk removal can make the process much easier. Instead of renting trucks, coordinating dump runs, and handling heavy lifting yourself, full-service hauling helps clear the unit quickly so you can close it out and move on.
We help homeowners, renters, landlords, and families throughout Sacramento and surrounding areas with storage unit cleanouts, furniture removal, appliance hauling, and large-item disposal. Whether the unit contains old mattresses, broken appliances, bulky furniture, or years of forgotten boxes, the goal is the same—clear the space without turning it into a full weekend project.
Conclusion
Clearing out a long-term storage unit is a demanding project, but the financial and emotional rewards are immense. By conducting a proper inventory, utilizing a strict sorting strategy, and acknowledging the emotional weight of your belongings, you can successfully empty that space.
Stop paying monthly rent for items you no longer use or love. Reclaim your money, your time, and your peace of mind. Remember, you do not have to tackle the final, exhausting phase of disposal alone.
If you are ready to finally clear out your storage unit without the backbreaking labor of multiple trips to the dump, contact us today. Let Take Care Junk handle the heavy lifting and responsible disposal, so you can close the door on your storage unit for good.