

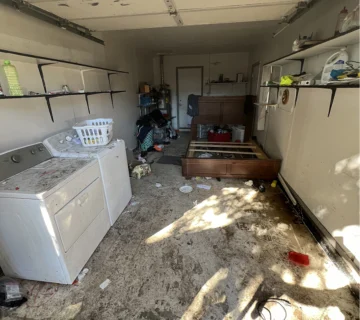
For many homeowners, the garage is the final frontier of clutter. It’s the place where good intentions and forgotten items go to collect dust. Bicycles from years past, half-finished DIY projects, boxes that were never unpacked from the last move—they all find a home there. The result is often a chaotic, unusable space where parking a car is a distant dream. The thought of tackling this mess can be so overwhelming that the door simply stays shut. But what if you could reclaim that valuable space in just one weekend?
Transforming your garage from a dumping ground into a functional, organized area is entirely possible with a focused plan. Clearing out a garage in a single weekend comes down to having a clear plan and sticking to it. Breaking the work into focused steps makes it easier to stay organized, make decisions quickly, and keep the process moving without getting overwhelmed.
This weekend project is an investment in your home and your peace of mind. By the end of it, you’ll not only have a clean garage but also a system to keep it that way. We’ll also show you how partnering with a professional junk removal service can be the key to ensuring your weekend warrior efforts are a resounding success.
Phase 1: The Pre-Game Plan (Friday Evening)
Success in a weekend-long project hinges on preparation. You can’t just walk into the garage on Saturday morning and expect things to fall into place. Use Friday evening to set yourself up for an efficient and productive two days.
Define Your Vision and Goals
Before you move a single box, ask yourself: What is the primary purpose of my garage? The answer will guide every decision you make.
- Parking: Is your main goal to finally park one or both of your cars inside, protecting them from the elements?
- Workshop: Do you dream of a dedicated space for woodworking, car maintenance, or other hobbies?
- Storage: Do you need it to be a highly organized storage hub for seasonal items, tools, and sports equipment?
- Hybrid Space: Perhaps you want a combination—space for one car, a small workbench, and organized storage shelves.
Write down your primary and secondary goals. This vision will be your north star when you’re faced with tough decisions about what to keep and what to discard. Many homeowners often find that a well-organized garage enhances their active lifestyle by making it easy to access bikes, kayaks, and camping gear.
Assemble Your Decluttering Toolkit
Gathering your supplies beforehand means you won’t have to interrupt your workflow with trips to the store. Here’s what you’ll need:
- Heavy-Duty Trash Bags: You will need more than you think.
- Sturdy Boxes or Bins: For sorting items into categories. Large, clear plastic bins are great for long-term storage.
- Labels and Markers: Label everything. This is crucial for both the sorting process and your final organization.
- Work Gloves: To protect your hands from dirt, dust, and sharp objects.
- Dust Masks: Garages can be incredibly dusty, especially when you start moving long-forgotten items.
- Broom, Dustpan, and Shop-Vac: For cleaning the space once it’s empty.
- Cleaning Supplies: All-purpose cleaner, rags, and a bucket.
- Refreshments: Keep water and snacks handy to stay hydrated and energized.
Schedule Your Junk Removal
This is a pro-level tip that can make or break your weekend timeline. The sheer volume of junk you pull out of a garage is often too much for your weekly trash pickup. Do you really want to end your productive weekend with a garage full of junk bags and a driveway piled high with old furniture?
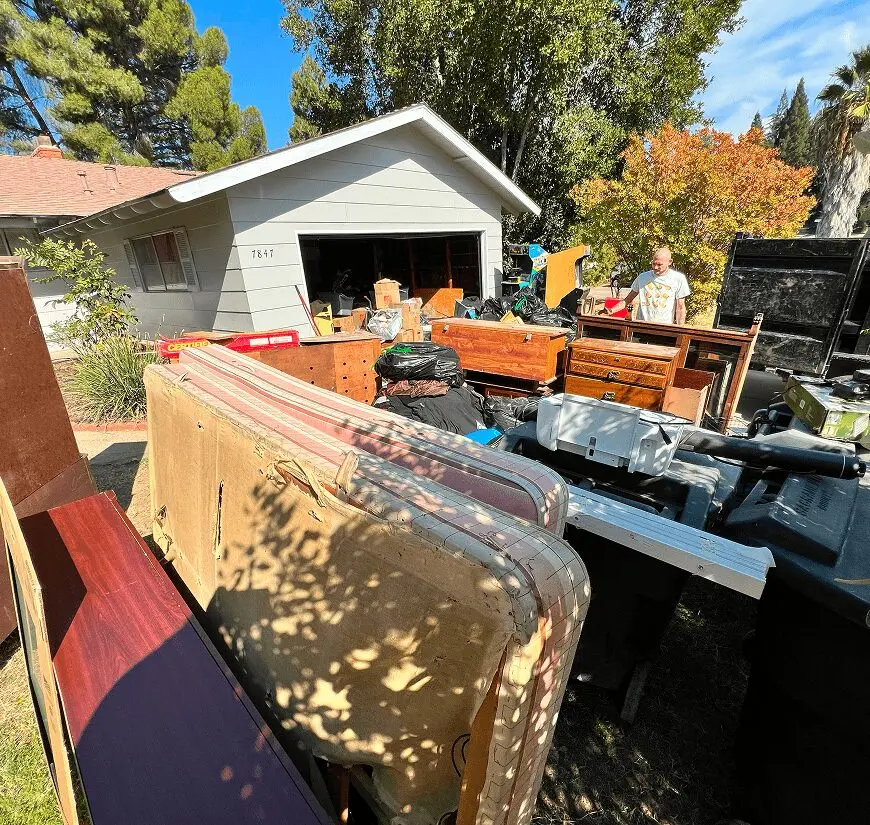
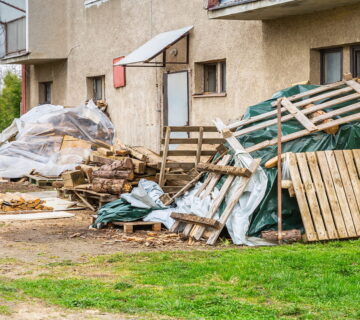
Schedule a professional junk removal service in advance for Sunday afternoon. Knowing that a team is coming to haul everything away provides a powerful deadline and an even more powerful sense of relief. A professional junk removal service can handle everything from old tires and broken electronics to rotten wood and scrap metal. Whether you’re dealing with a large cleanout or a smaller project, booking ahead ensures the clutter leaves your property for good, marking a true completion of the project.
Phase 2: The Great Emptying (Saturday Morning)
Saturday is all about clearing the space. You cannot effectively organize a cluttered garage; you must start with a blank slate. This is the most physically demanding part of the process, so put on some music, get energized, and dive in.
The Pull-Everything-Out Method
The most effective strategy is to pull absolutely everything out of the garage. Move it onto the driveway or lawn. This accomplishes two things:
- It forces you to touch and evaluate every single item. There’s no hiding from that box in the back corner.
- It gives you a completely empty space to clean and plan your new layout.
Work in sections. Start with the area closest to the garage door and work your way back. As you pull items out, begin creating rough groupings: tools with tools, sports equipment with sports equipment, etc. This initial rough sort will make the next step much easier. Be prepared—the sheer volume of stuff might be shocking, but this is a necessary step in the process.
The Deep Clean
With the garage completely empty, it’s time for a thorough cleaning. This is a rare opportunity to get to every corner of the space.
- Sweep Everything: Start from the back corners and sweep all the dust, dirt, cobwebs, and debris toward the garage door.
- Shop-Vac Attack: Use a shop-vac to get the fine dust and dirt that sweeping leaves behind. Pay attention to corners, ledges, and windowsills.
- Address Spills: Now is the time to tackle old oil stains or paint spills on the concrete floor. Use a degreaser or appropriate cleaner for the job.
- Wipe Down Surfaces: Wipe down any existing shelves, workbenches, and windows.
Working in a clean, empty space is far more motivating than trying to organize around dirt and grime. This fresh start signals a true transformation.
Phase 3: The Sorting System (Saturday Afternoon)
With everything out on your driveway, it’s time to implement a ruthless sorting strategy. This is where your decluttering toolkit comes into play. Designate distinct zones on your driveway for four key categories. This method forces a decision on every item.
The Four-Zone Strategy
- KEEP: This zone is for items that are functional, used regularly, and align with your vision for the garage. Be honest with yourself. If you haven’t used that specialty tool in five years, it probably doesn’t belong in the keep pile.
- DONATE/SELL: Items that are still in good, usable condition but no longer serve you belong here. Another family might need that toddler bike your kids have outgrown, or someone might want that extra set of golf clubs.
- RELOCATE: This is for items that don’t belong in the garage at all. The extra pantry supplies, the box of photo albums, the kitchen appliance that somehow migrated to the garage—put them here to be moved to their proper home inside.
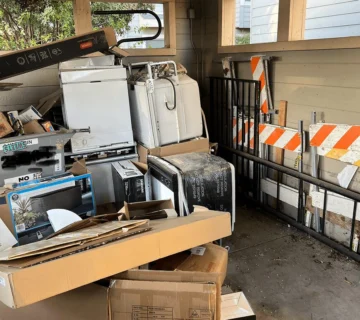
- JUNK: This will likely be your largest category. It includes anything broken, expired, unusable, or simply not worth keeping. Old paint, broken lawn chairs, rusted tools, scrap wood, and ancient electronics all go here.
Ruthless Decision-Making Questions
As you pick up each item, ask yourself a series of direct questions:
- Have I used this in the last year? If the answer is no (with the exception of some seasonal items), it’s a strong candidate to be let go.
- Is it broken? If yes, be realistic. Will you actually fix it this month? If not, it’s junk.
- Do I have duplicates? How many hammers or gardening trowels do you really need? Keep the best one and get rid of the rest.
- Does this support my vision for the garage? If your goal is to park a car, that giant, unused table saw might be standing in the way.
- If I were moving, would I pay to move this? This question helps you assess the true value of an item to you.
Work systematically through your piles. This is a marathon session, so take breaks. Stay hydrated. By the end of Saturday, your driveway should be organized chaos, with clear zones for Keep, Donate, Relocate, and Junk.
Phase 4: Planning and Rebuilding (Sunday Morning)
Sunday is about smart reorganization. With a clean, empty garage, you can now design a layout that works for you.
Create Functional Zones
Don’t just randomly put things back. Think like a designer and create logical zones within your garage. This is the key to long-term organization.
- Car Zone: This is the sacred, non-negotiable space for your vehicle(s). Mark it out, and do not let storage creep into it.
- Tool and Workshop Zone: Group all your tools, hardware, and your workbench together. This creates an efficient area for projects. Many homeowners with a passion for DIY projects find a dedicated zone transformative.
- Gardening Zone: Keep all your lawn and garden supplies in one place—shovels, rakes, fertilizer, pots, and the lawnmower.
- Sports and Recreation Zone: All the bikes, balls, helmets, and camping gear should live together for easy access.
- Seasonal Storage Zone: Holiday decorations, winter clothing, and other infrequently used items should be stored in less accessible areas, like high shelves or overhead racks.
Embrace Vertical Space
The single most important principle of garage organization is to get things off the floor. The floor is for parking, not for storage.
- Install Sturdy Shelving: Heavy-duty, freestanding metal or plastic shelving units are a fantastic investment. They can hold a tremendous amount of weight and allow you to use vertical space effectively.
- Use Pegboards: A pegboard system is perfect for the workshop zone. It keeps frequently used tools visible, organized, and within easy reach.
- Wall-Mounted Racks and Hooks: Use specialized hooks and racks to hang everything from bicycles and ladders to shovels and sports equipment. Getting these bulky items onto the walls frees up an incredible amount of floor space.
- Overhead Storage: For long-term, deep storage items, overhead racks are the ultimate solution. They utilize the empty space above your garage door and vehicles, perfect for things you only need once a year. This is a popular solution found in the spacious garages.
Put the “Keep” Pile Away
Now, begin moving the items from your “Keep” pile back into the garage, placing them in their newly designated zones.
- Use Clear Bins: For items on shelves, use clear plastic bins with tight-fitting lids. This protects your belongings from dust and pests while allowing you to see the contents at a glance.
- Label Everything: Even with clear bins, labeling is essential. Use your marker to clearly label the contents of every box and bin. You will thank yourself six months from now when you’re looking for the camping stove.
- Group Like with Like: Within each zone, continue to group similar items. All painting supplies go in one bin, all car cleaning products in another.
As you fill your newly organized space, you’ll feel an incredible sense of accomplishment. The vision you defined on Friday night is coming to life.
Phase 5: The Final Purge (Sunday Afternoon)
You’ve done the hard work. The garage is clean, organized, and functional. Your “Relocate” pile has been moved back into the house. Your “Donate” pile is boxed up and ready to be dropped off. But what about that mountain of junk still sitting on your driveway?
The Power of Professional Junk Removal
This is the moment your pre-planning pays off. Instead of spending the rest of your Sunday loading up a truck, making multiple trips to the dump, and figuring out where to dispose of different materials, you get to relax.
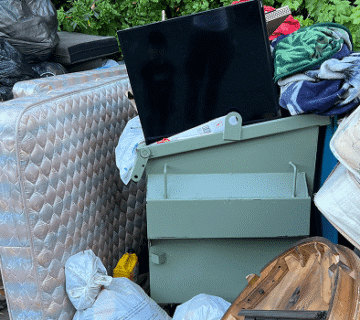
Your scheduled junk removal team arrives. You simply point to the pile. The team from a service like Take Care Junk will efficiently load everything—the broken furniture, the old electronics, the bags of trash, the scrap metal—and haul it away. They handle the sorting for recycling and proper disposal, ensuring that your junk is dealt with responsibly.
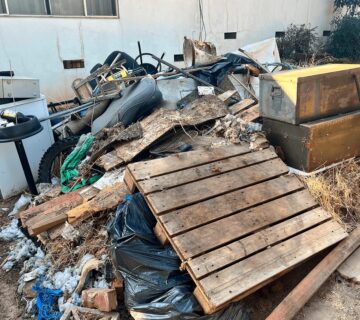
This service is helpful for homeowners dealing with large cleanouts. Whether you’re dealing with yard waste, construction debris, or just decades of accumulated stuff, professional help is the fastest way to complete the job. It’s the final step that turns a messy, exhausting project into a clean, satisfying victory.
Final Actions
- Load Donations: Pack the donation boxes into your car so they are ready for a drop-off on Monday. Get them out of your newly cleaned space.
- Admire Your Work: Park your car in the garage. Take a moment to appreciate the clean, organized space you’ve created. You took on a massive project and completed it.
Maintaining Your Organized Garage
Decluttering is an event, but organization is a habit. To prevent your garage from reverting to its former state, implement these simple rules:
- The “One-Touch” Rule: When you bring something into the garage, put it in its designated home immediately. Don’t just set it on the floor “for now.”
- A Home for Everything: If you acquire a new item, decide where it will live before you even bring it home.
- “One In, Two Out”: For the first year, for every new item you bring into the garage, try to remove two. This helps you continue to pare down your possessions.
- Schedule a Yearly Tidy-Up: Pick one weekend a year to do a quick 1-2 hour maintenance sweep. This will prevent small messes from turning into overwhelming clutter again. For residents in university towns or communities, an end-of-summer tidy-up can be a great annual tradition.
A garage declutter is a big undertaking, but it is a weekend project with one of the highest returns on investment. You gain square footage, reduce stress, and create a functional space that adds value to your home. By following this plan, you can systematically and successfully reclaim your garage.
And remember, the secret weapon to finishing strong is professional support for the final, and messiest, step. If you need help clearing out the remaining items, professional junk removal can handle the final step efficiently.